Mapping
When commissioning a facility, an initial map of the facility must be created. This map can then be aligned against a facility floor plan and shared with the rest of the fleet, ensuring positioning data published by all vehicles is in a common global reference frame. Please ensure you have followed the instruction in Facility Setup to set up the visual marker boards in the facility before starting the mapping process and you also read and follow the Mapping Guidelines.
The map can be created from a single device using Mapping mode, which
can be found under the MAPPING tab at the top of the Positioning
page. The map creation can be completed in stages across multiple runs
(instead of completing it in one-go) by using the Resume Mapping
feature.
A map should be created with the same Slamcore Aware sensor unit mount positioning and vehicle type that is expected to be used during normal operation.
-
The same map can be shared across a fleet of vehicles which:
- Have similar Slamcore Aware sensor unit mount positioning,
- Operate in the same areas in a facility or across areas with significant overlap.
-
We recommend creating a different map for any fleet of vehicles which:
- Have significantly different Slamcore Aware sensor unit mount positioning or have the sensor unit pointing in a completely different orientation to other vehicles,
- Operate in completely different areas of a facility to those contained in any map created previously on a Slamcore Aware device.
For example, we would recommend creating two separate maps for the following fleets in the same facility:
- A fleet of forklifts where the sensor unit is mounted on the roof, ~3m from the ground, and they operate within a single area off-loading trailers.
- A fleet of jack tuggers where the sensor unit is mounted on the front, ~1m from the ground, and they operate across the whole facility.
Mapping a Facility
Once the environment has been set up with the required marker boards and
a vehicle has been identified that can be used for the mapping run, on
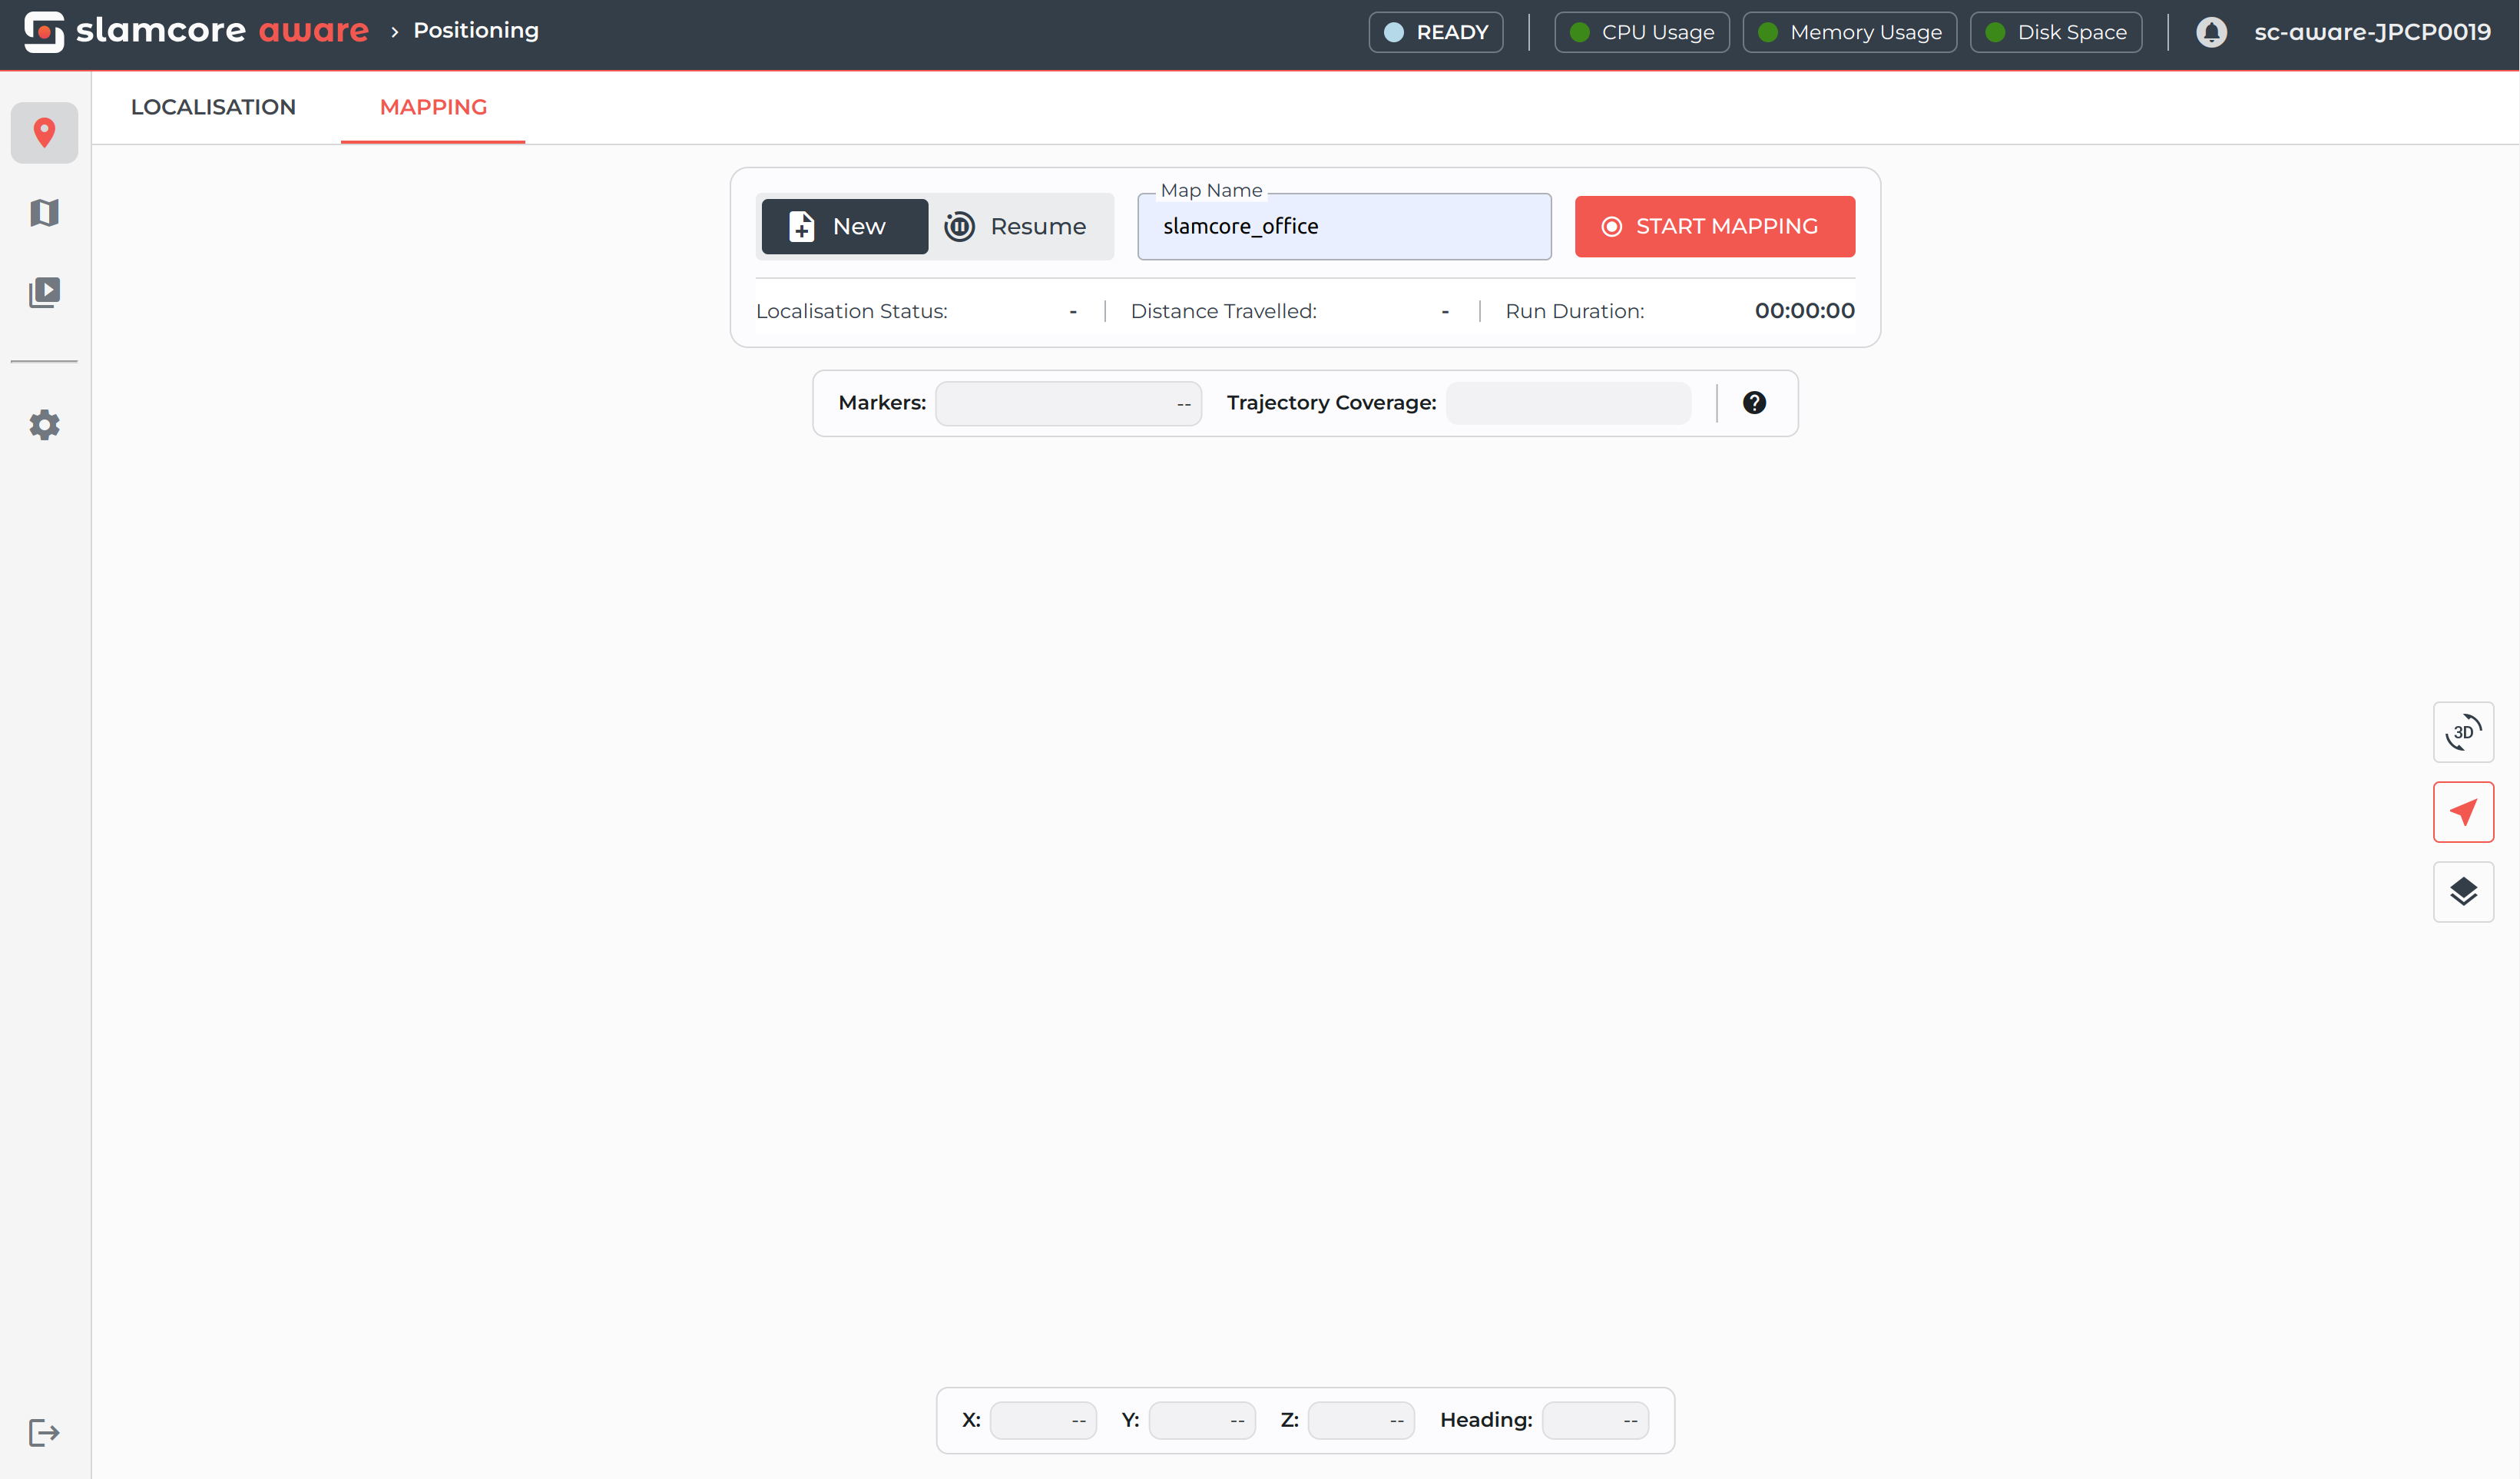
the web interface, select the  Positioning page
>
Positioning page
> MAPPING tab >  New.
New.

Starting Mapping Mode
- Enter a unique Map Name. We recommend including the current date, facility and vehicle class the map will be used for in the name.
- Click START MAPPING to begin mapping.
- Before you begin driving, check the System Status on the top bar
and make sure the status is
Mapping, indicating that the positioning system is active.
Driving around the Facility
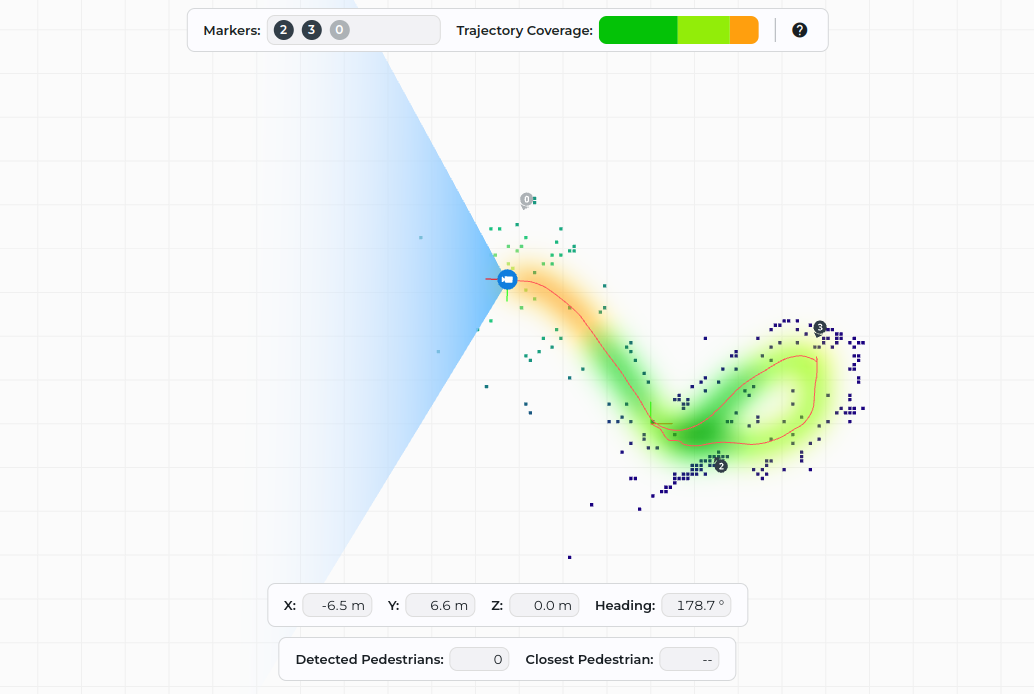
Drive around the facility to generate a map, following the Mapping Guidelines mentioned above and keeping track of the Mapping Quality Indicators to ensure the best outcome from the mapping process.
Once the vehicle starts driving for a few seconds, you should see the position data and the trajectory on the Visualisation pane.
Completing the Mapping Process
- Once happy with the quality of the initial map, click STOP MAPPING to end the mapping process.
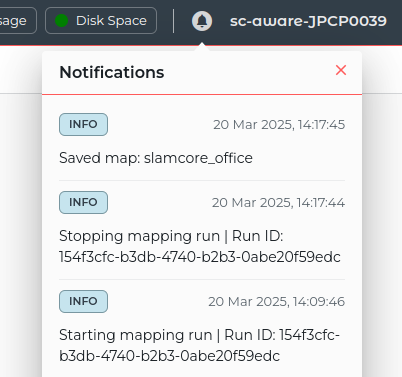
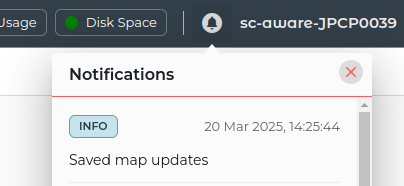
- Wait for the system to process the map and save it. This may take some time depending on the map size. A notification will appear in the Notifications pane when the session has been saved.
Resume Mapping
Resume Mapping can only be used on maps created in v25.07 or later.
With the Resume Mapping feature, users may complete the creation of the map across multiple runs. We recommend using this feature to resume mapping in the following scenarios:
- Map any large facilities where the truck operator in-charge may need to take breaks and map different areas in stages.
- Improve the initial map by revisiting areas in the previous map that have low mapping quality.
- Resume mapping if the previous mapping run was interrupted unexpectedly.
We advise against performing any Map <-> Floor plan Alignment or deploying the map until all mapping stages have been completed.
If you need to resume mapping after either steps, please check and adjust the map alignment as necessary, and note that any Automatic Map Updates from localisation runs will be discarded.

To resume mapping, on the Positioning page >
MAPPING tab, toggle the switch to  Resume mode.
-
Drive to an area in the facility that has already been explored in the map.
-
Select the map via the drop-down and click RESUME MAPPING.
-
The system will attempt to relocalise in the map.
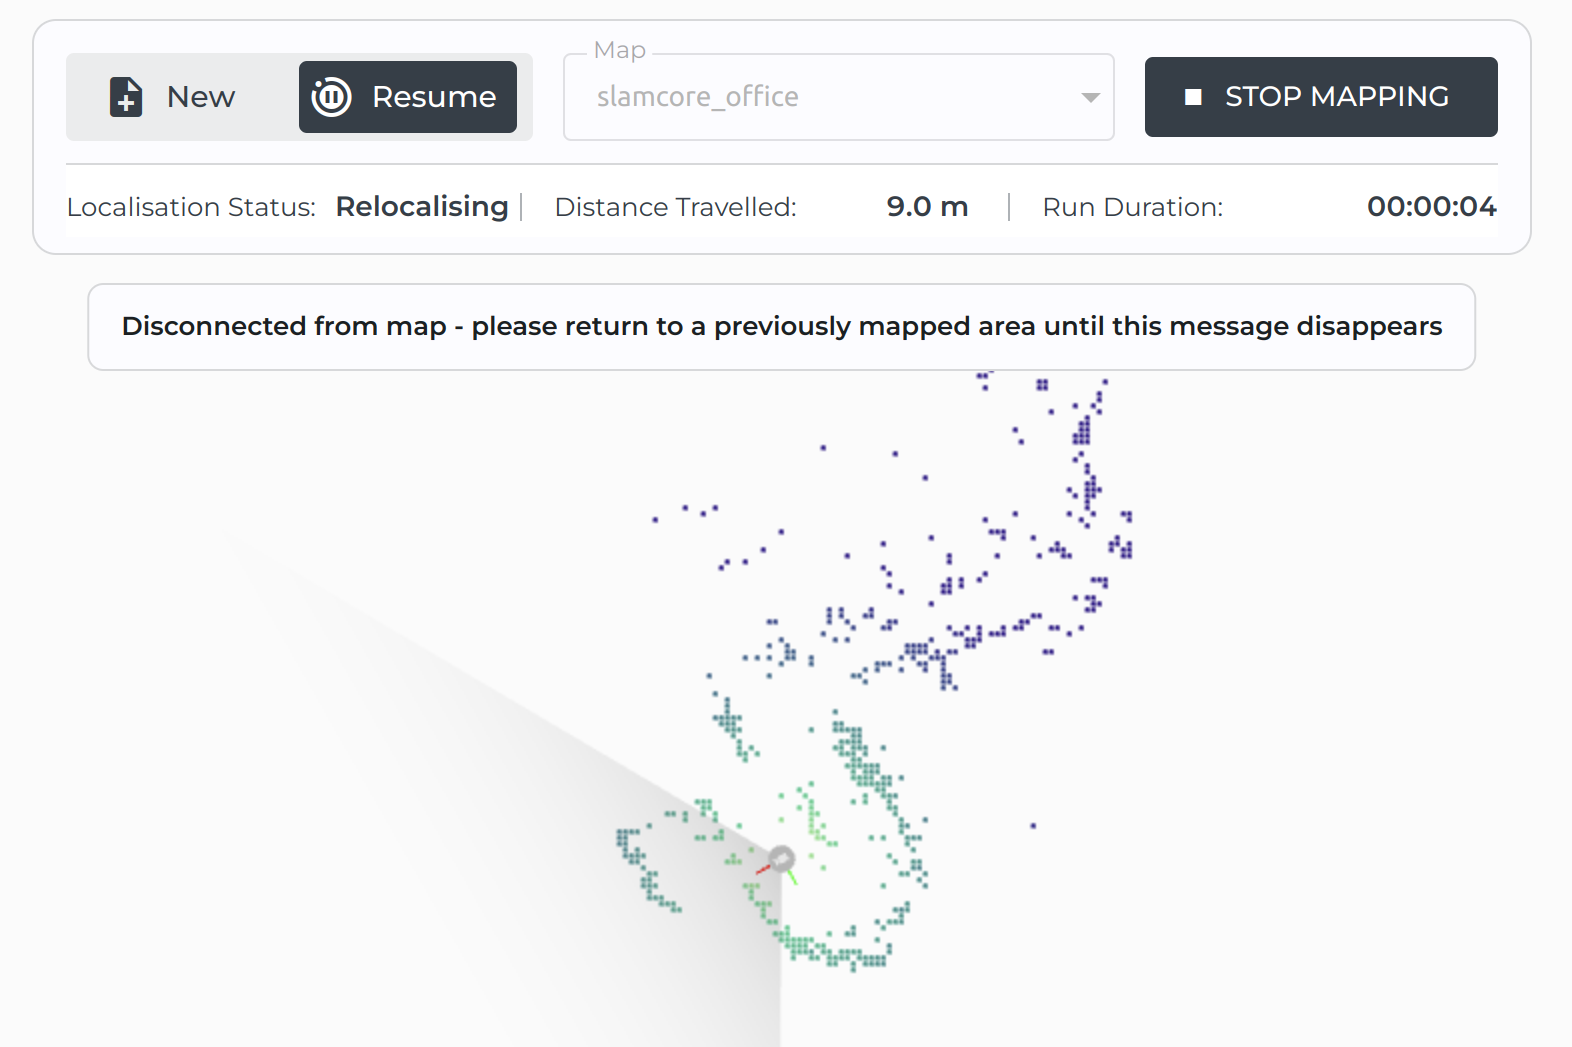
Map Resume - Disconnected from map Drive around the area until the system relocalises in the map and you see the vehicle being tracked in the UI. You can then drive into any new areas that need mapping.
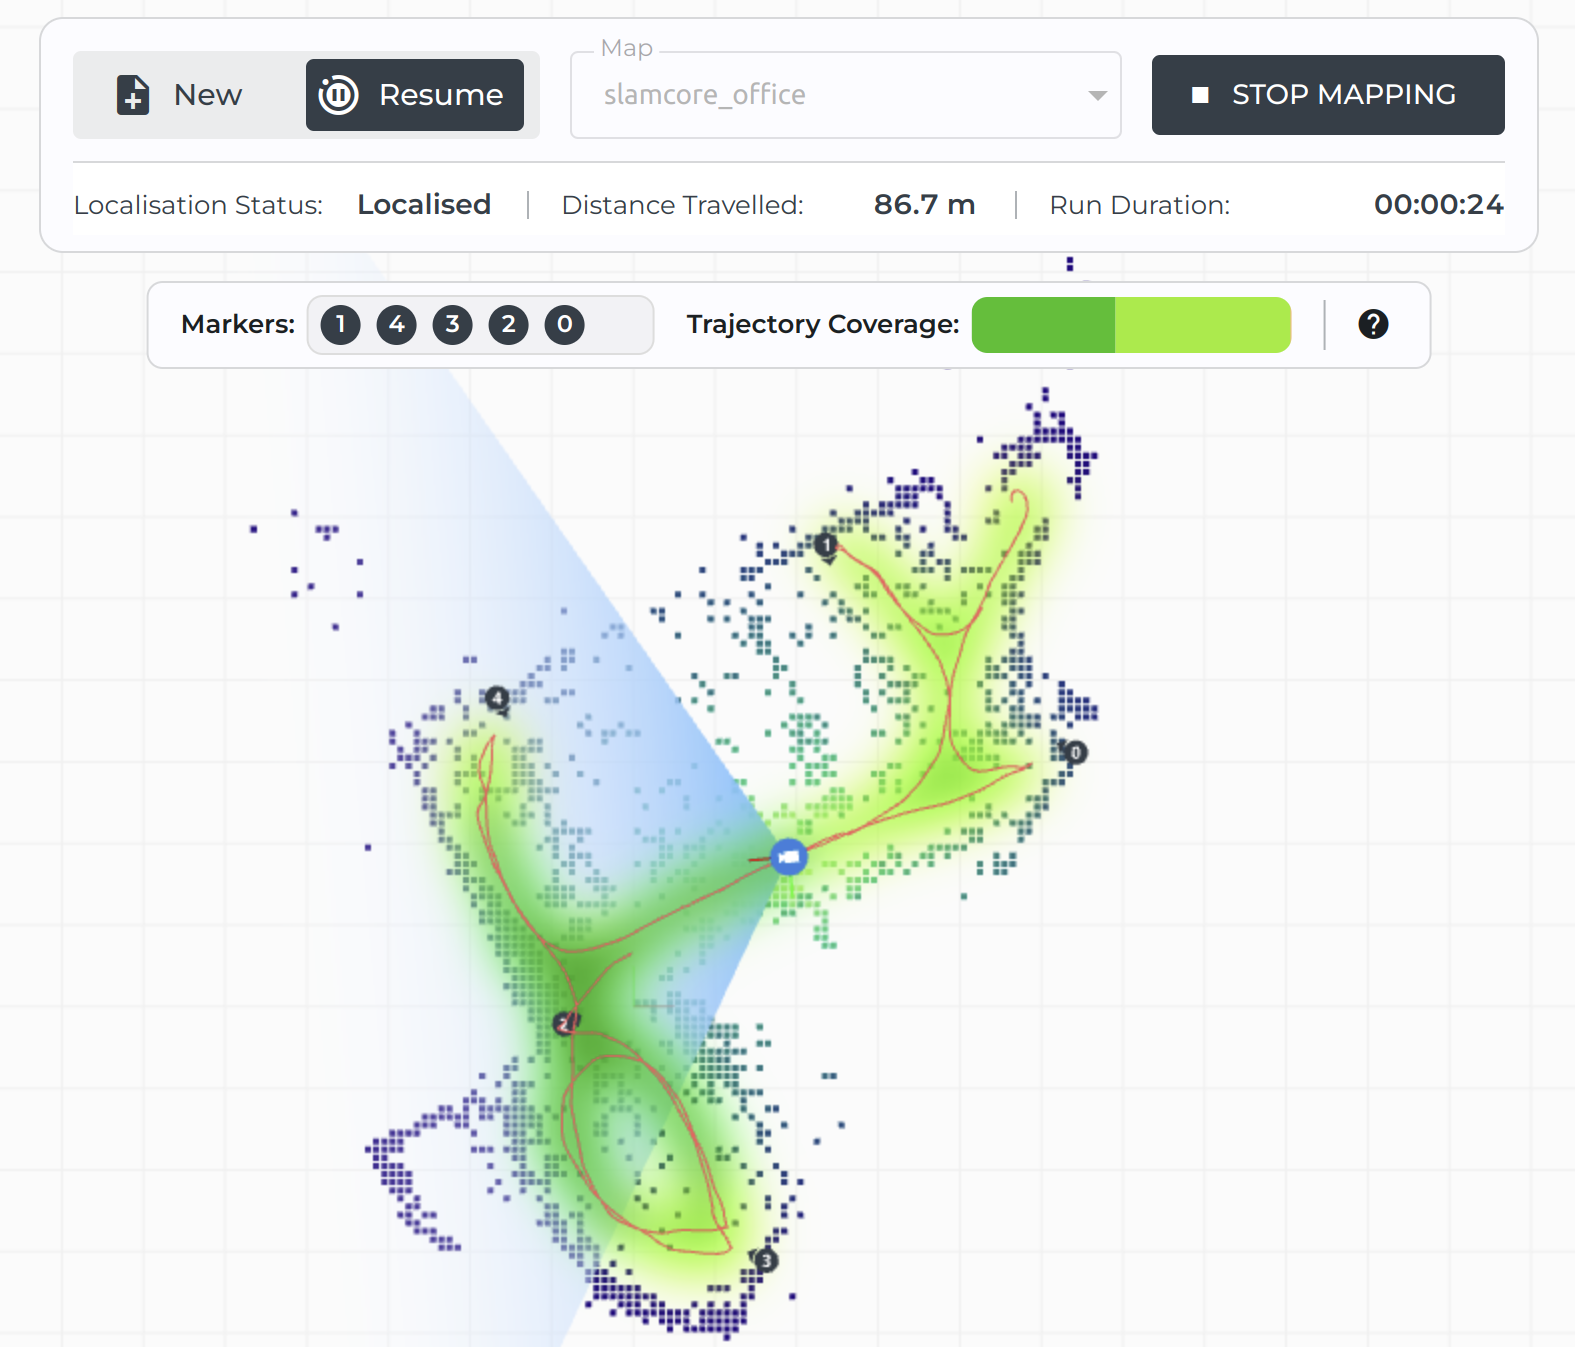
Map Resume -
Once satisfied with the quality of the map, click STOP MAPPING to complete the map resume.
To maintain system integrity, all original visual marker boards used in the existing map must remain fixed at their exact locations within the facility during subsequent mapping runs. Relocating any of these markers may lead to localisation failures or degraded system performance.
Map Alignment & Map Sharing
Once the map has been saved, it should be aligned against a floor plan before being shared with the rest of the fleet. This will ensure all vehicles publish their position in a common global reference frame. Follow the instructions in Map <-> Floor plan Alignment to align the map to the facility floor plan. Then follow the instructions in Map Sharing to share the map with other vehicles.
Automatic Map Updates
Slamcore Aware is able to automatically update the map features in the background during daily live operation, ensuring robustness to any changes in a facility.
This background process occurs at the end of every Localisation run once STOP LOCALISATION is selected and shows up under the Notifications pane.
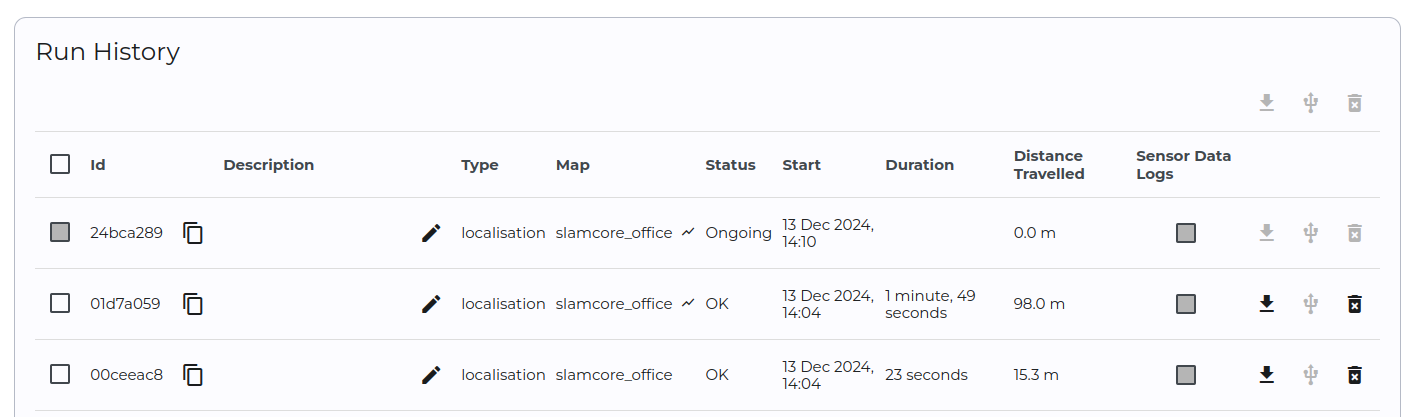
Subsequent localisation runs that use an updated map file will appear on
the Trajectories & Logs page with a  under the
Map data field to indicate that the "map used contains additional
updates since the first mapping run".
under the
Map data field to indicate that the "map used contains additional
updates since the first mapping run".
The map file that is downloaded and shared with other vehicles in the Map Sharing workflow is the base map only, which will not include any of these automatic map updates. The other vehicle will then build its own map updates on this base map during daily live operation.
Any map file that has been manually modified by Resume Mapping or Map <-> Floor plan Alignment will lose the automatic map updates from past localisation runs.
Re-mapping
As the map is automatically updated during live operation, you should only need to remap the facility if:
- The visual marker boards have been re-mounted, or
- The device is being used in a different facility, or
- The facility layout has changed significantly.
This is because the marker boards serve as anchors/fixed points in the map and are not remapped during localisation runs, while other visual features in the environment are dynamically updated.
To re-map, simply create a new map following the instructions from Starting Mapping Mode.