A Slamcore Aware map can be aligned with the floor plan of a facility to
ensure poses from the system are published in a global reference frame,
for example, relative to the corner of the building or a known datum.
Map alignment is available after Mapping, either with a
map created on-device or with a map captured with another device.
A Slamcore Aware map with at least 3 marker detections and a floor plan
in SVG, PNG or JPEG image format are required to do map alignment.
Once an alignment has been applied to the map, this data, along with the
floor plan image, will be saved to the map file and will be included
whenever the map is shared with another device.
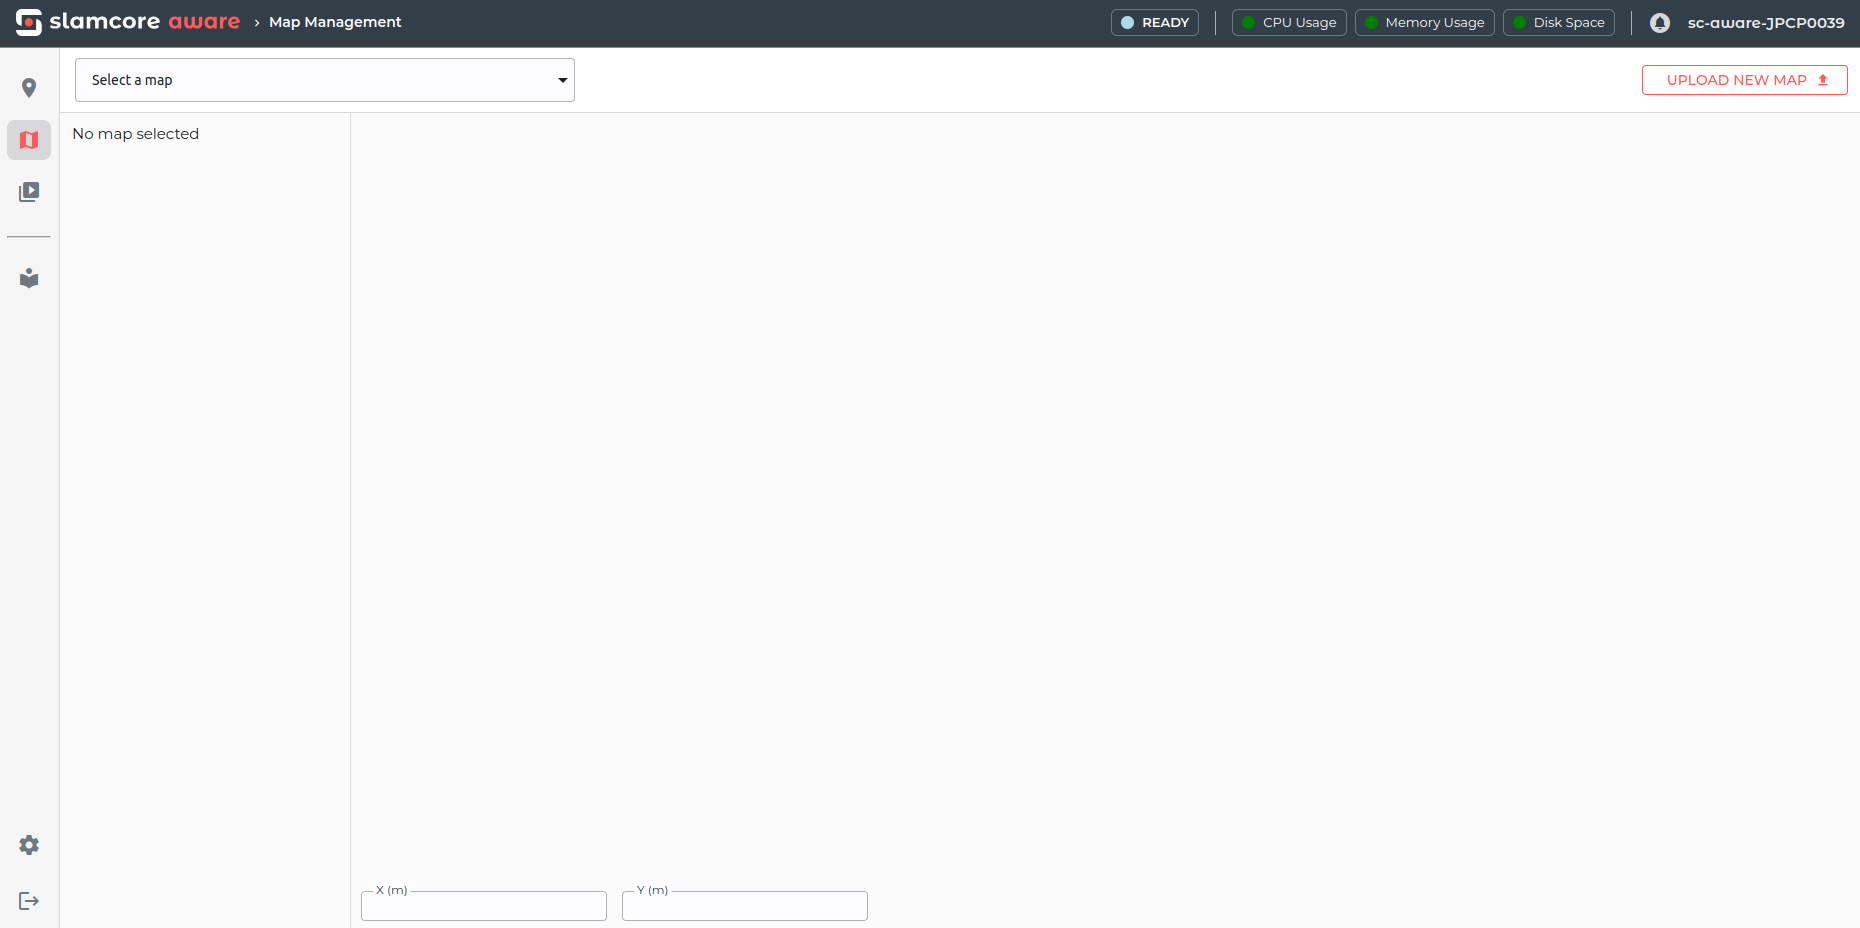
Click the Select a map drop-down at the top of the
Map Management page, to see the list of
available maps on the device.
note
If you want to upload and use a map that was generated on another
Slamcore Aware device, click UPLOAD NEW MAP and choose the
.session map file from the file picker.
Select the map that you want to align with a floor plan. The map
will be loaded in the main visualisation pane.
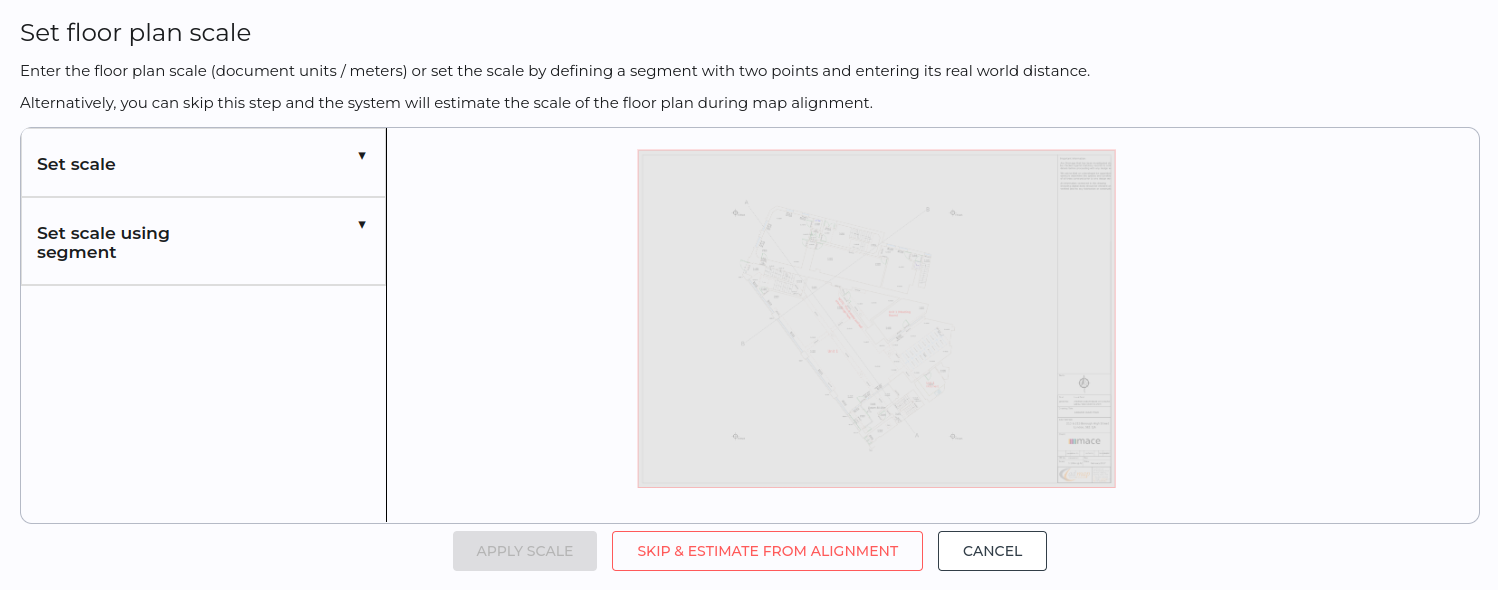
Once the floor plan image is loaded, a modal window will open showing
the uploaded floor plan and allowing you to set the floor plan image
scale. If the wrong floor plan image was uploaded, click CANCEL and
the modal will close and the floor plan will be removed.
The floor plan image scale value enables the system to do the conversion
between pixels (used by the floor plan image) and meters (used by the
Slamcore Aware system). Users may set the scale of the floor plan image
manually or skip this step to allow the system to estimate the scale of
the image during map alignment (This value will be based on the Slamcore
map dimensions and its alignment with the floor plan).
Set Floor Plan Scale
There are two options available for setting the scale manually:
If you already know the scale used in the image, select the Set
scale drop-down and input the floor plan scale in the text field
in document units / meters.
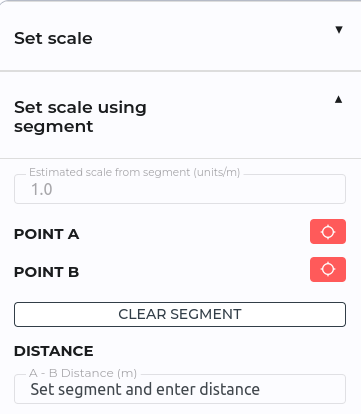
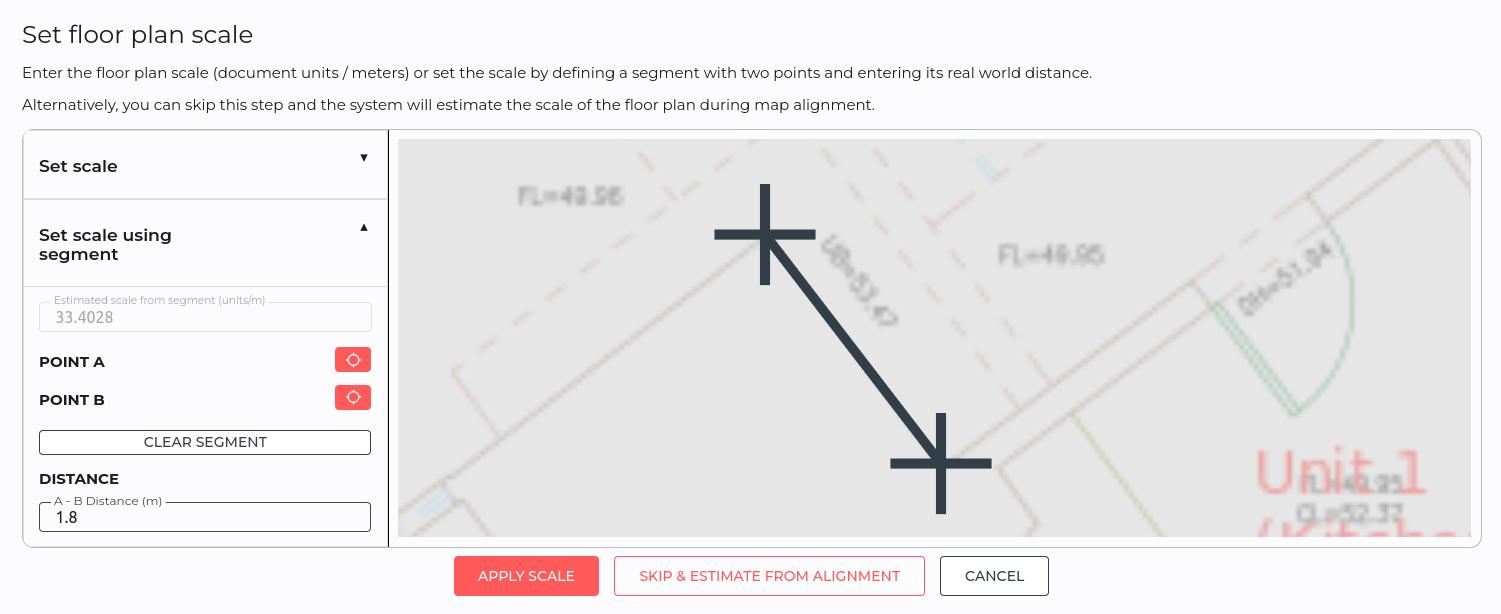
If you know the distance of a specific segment on the floor plan,
select the Set scale using segment drop-down option.
Set Floor Plan Scale - Using Segment
b.1. Click on each of the icons and place
them on the floor plan to define the segment.
b.2. Input the real world distance of the defined segment under
DISTANCE.
Set Floor Plan Scale - Using Segment
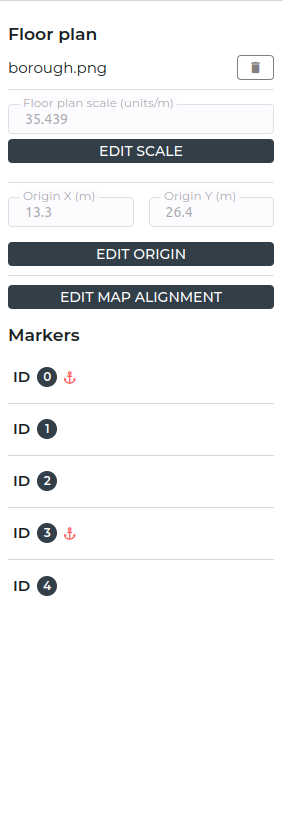
Select APPLY SCALE to confirm. The modal will close and the applied
scale will be shown on the left side bar.
Alternatively, if SKIP & ESTIMATE FROM ALIGNMENT is selected
instead, the modal will close and the scale will be estimated during
alignment, as shown in the section below. The final estimated scale will
be available on the left sidebar after applying the map alignment.
note
If you would like to edit the scale later, click on the EDIT SCALE
button in the sidebar to re-open the modal window.
If you re-open the modal by accident, simply click CANCEL to
discard any changes.
The visual markers that were captured during the mapping process acts as
real world reference points which enable alignment of the Slamcore Aware
map with the floor plan image through the web interface.
If you aren't already in map alignment mode, select EDIT MAP
ALIGNMENT to begin map alignment.
Map Editing Sidebar
The image file is displayed alongside the Slamcore map of the
environment with the mapped marker locations shown as
(insufficiently mapped) or
(sufficiently mapped) circles. The mapped
markers are also listed on the side panel.
note
It is possible that only a subset of the installed visual markers were
successfully detected during the mapping process or mapped
sufficiently (shown as ). The map can still be
used even if not all markers were detected or if some markers are
shown as (insufficiently mapped), but we
recommend re-mapping if there are fewer than 3 markers mapped
sufficiently (shown as ).
Map Editing - Split screen display of the Slamcore map and Floor plan
Select a marker by clicking on it directly from the map viewer or by
selecting its marker ID from the side panel. The marker will be
highlighted on the Slamcore map with a dotted coral outline.
Click on the matching marker location on the floor plan to position
the marker on the Floor plan image (right screen).
The marker will be annotated on the Floor plan with a solid orange
outline, and a icon will be shown next to the
marker ID that has been positioned.
Map Editing - Placing a marker on the floor plan
You may adjust the positions repeatedly as you go by dragging the
circle in the right floor plan screen - a dotted coral outline
indicates when a marker is selected and being edited.
You may reset the position of a marker by clicking
next to the marker.
Click on a second marker and place that on the floor plan as well.
Once two markers have been placed, the sparse map should roughly
snap and align to the geometry of your floor plan based on the
initial marker placement.
Map Editing - Rough map alignment after two markers have been positioned
Continue to place more markers and adjust the existing placements
until you are satisfied with the alignment. You can drag the circle
icons directly in the visualisation to select and re-position a
marker. You may use the square dots from the Slamcore map as
additional visual reference for walls, pillars etc.
note
A minimum of two marker placements are required to confirm the map
alignment, however, alignment of all markers is encouraged.
We suggest first placing two markers that are on different ends of the
map, then adjusting the scale and rotation as necessary with further
markers.
note
The following warning will pop up if the additional marker placement
deviates too far from the overall arrangement of the markers in the
scene.
Alignment failed: is your floorplan bottom-up?
In this case, please ensure that the marker annotation is accurate.
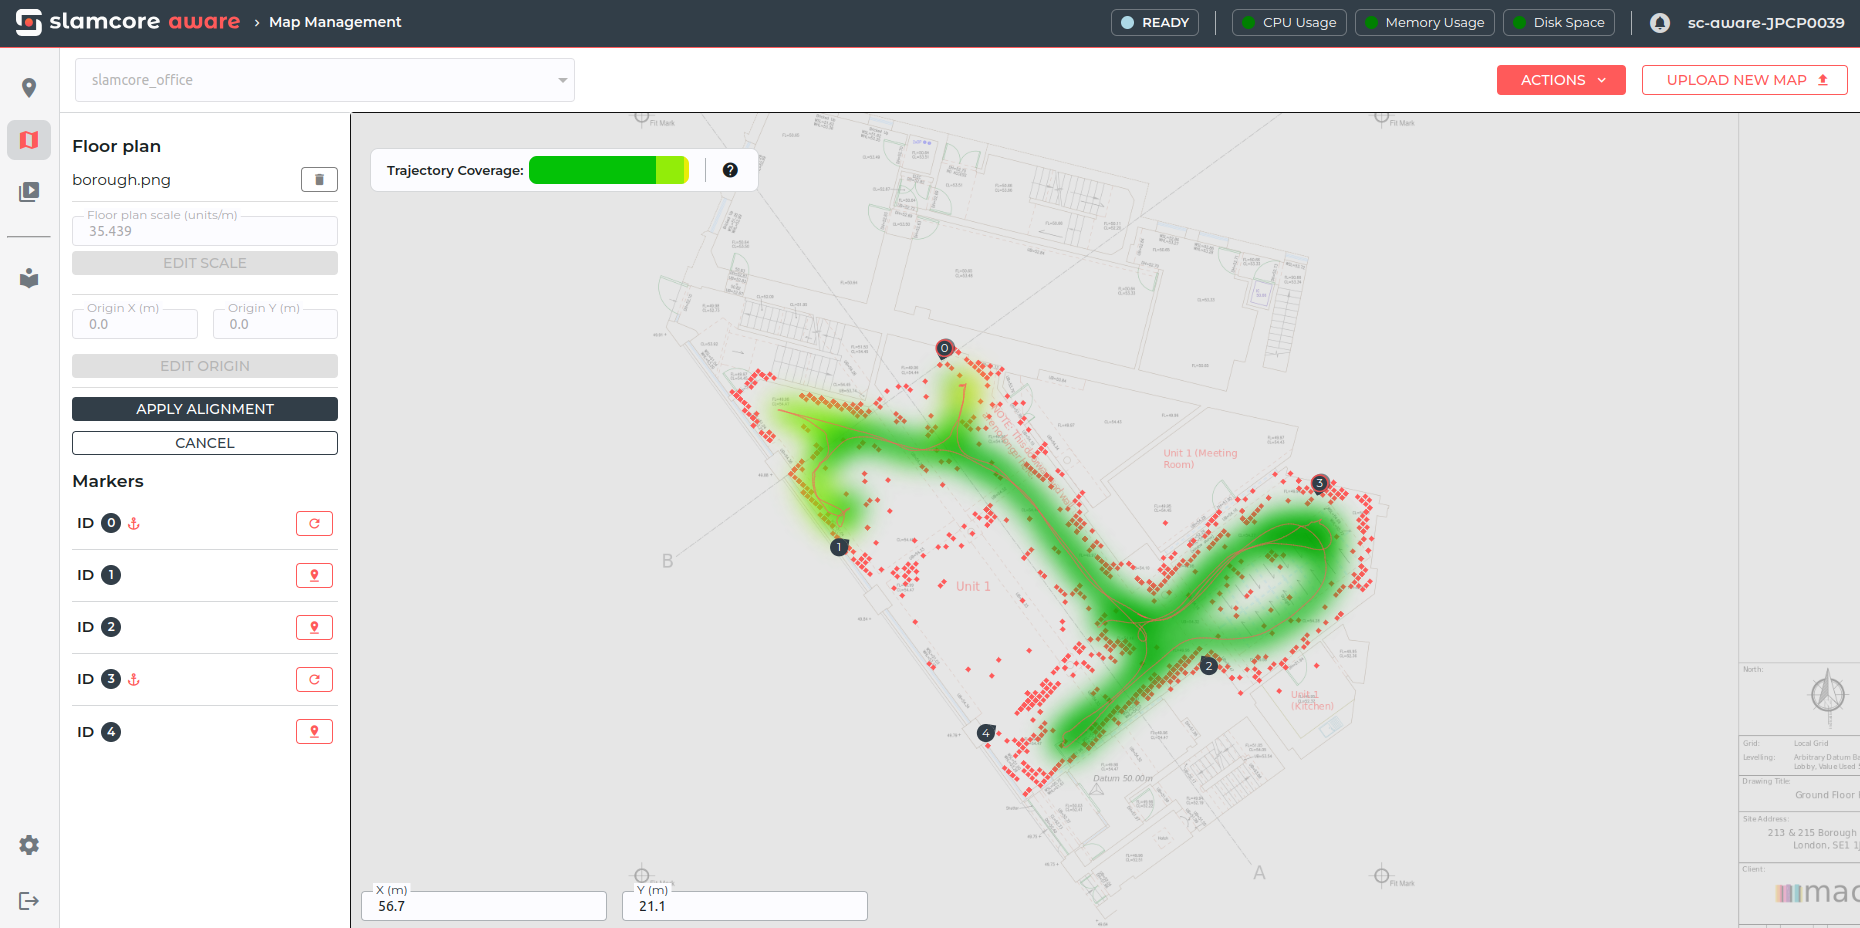
Once completed, click APPLY ALIGNMENT to apply the visual
alignment to the floor plan. A pop-up notification will show as "Map
saved" to confirm the changes.
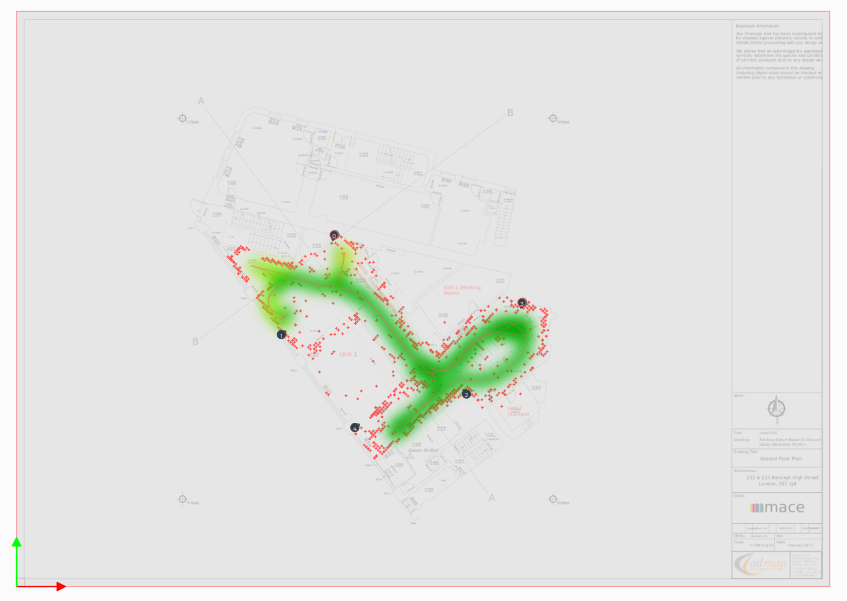
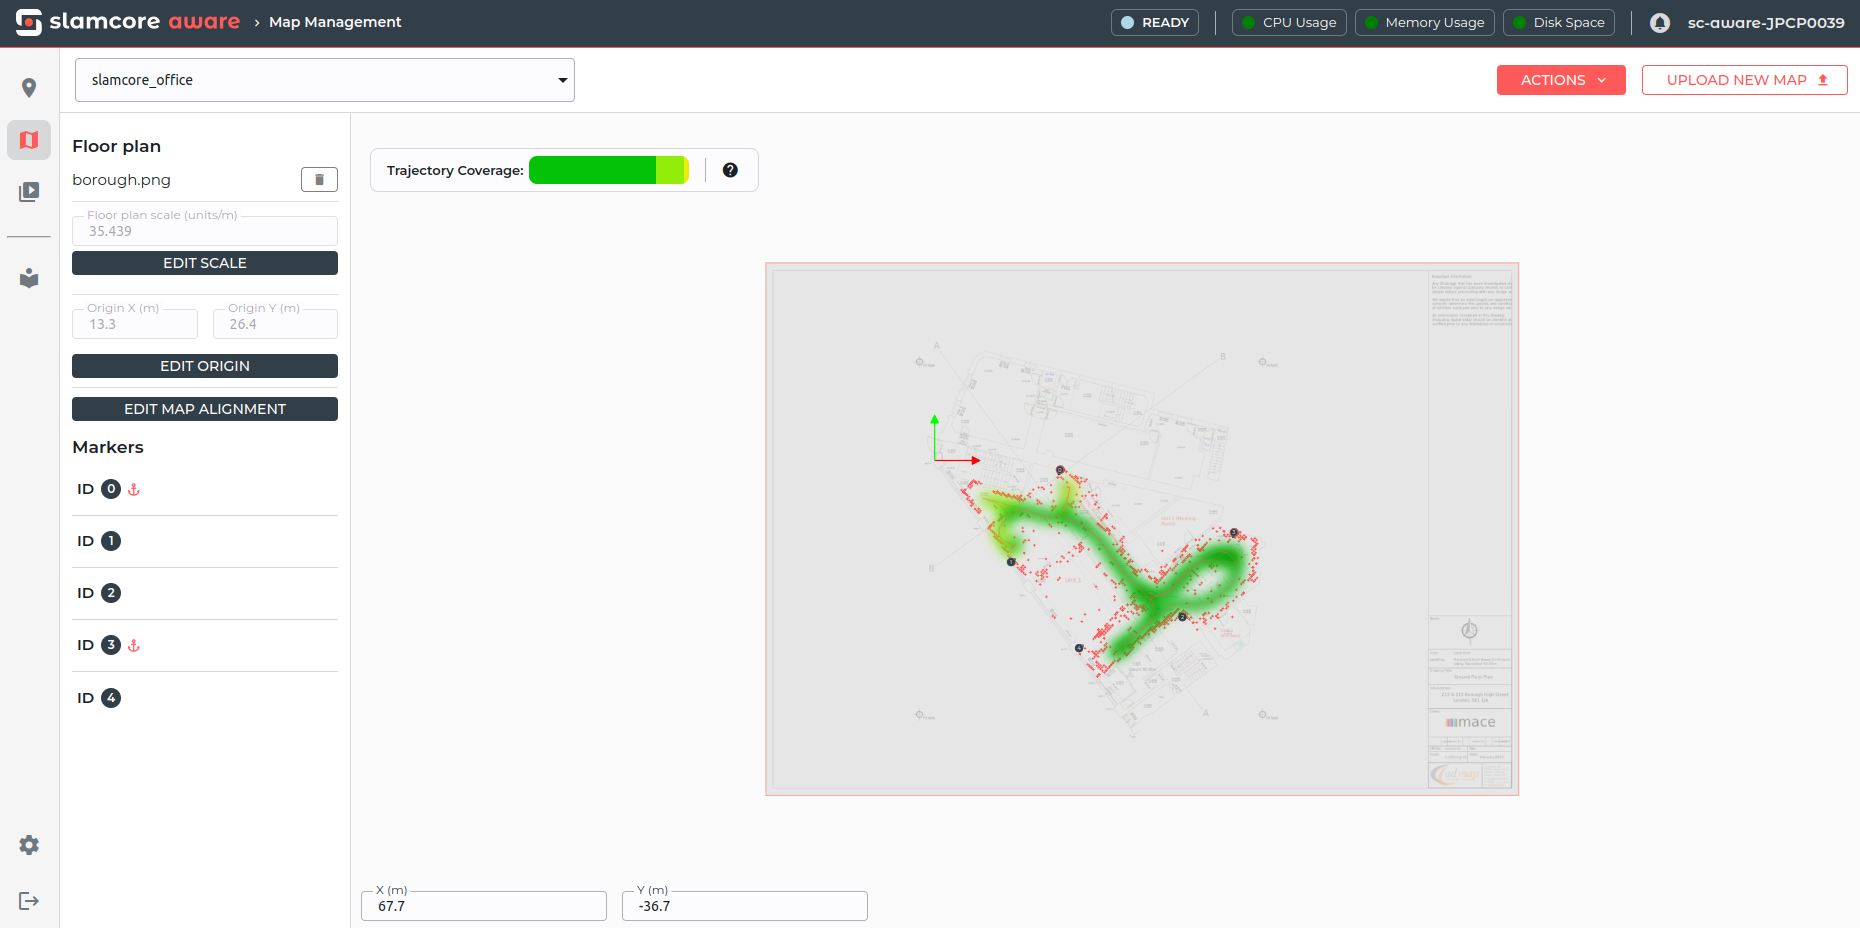
By default, the origin of the aligned map is set to the bottom left
corner of the floor plan image. All poses reported by the system will be
relative to this point.
Default origin is set to the bottom left corner of the floor plan
To set a custom origin on the map:
From the left sidebar, select EDIT ORIGIN.
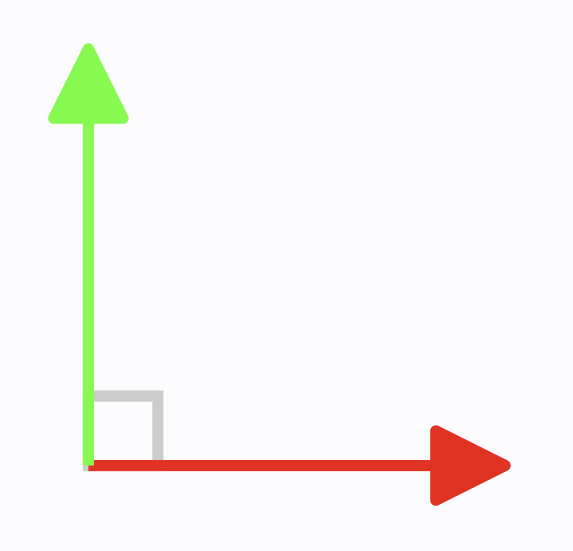
Click and hold on the gray square at the origin axes and drag the
origin to the custom position you want.
Origin axes
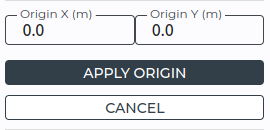
Alternatively, you can input the coordinates of the desired origin
location in meters, relative to the bottom left corner of the image,
into the Origin X and Origin Y fields in the sidebar, to set
the new origin.
Set the custom origin coordinates
Click APPLY ORIGIN to apply the custom origin settings. The map
file will be updated automatically, with the origin now set to the
custom coordinates.
Example - Custom origin has been set at the corner of the building
 Map Management page, to see the list of
available maps on the device.
Map Management page, to see the list of
available maps on the device.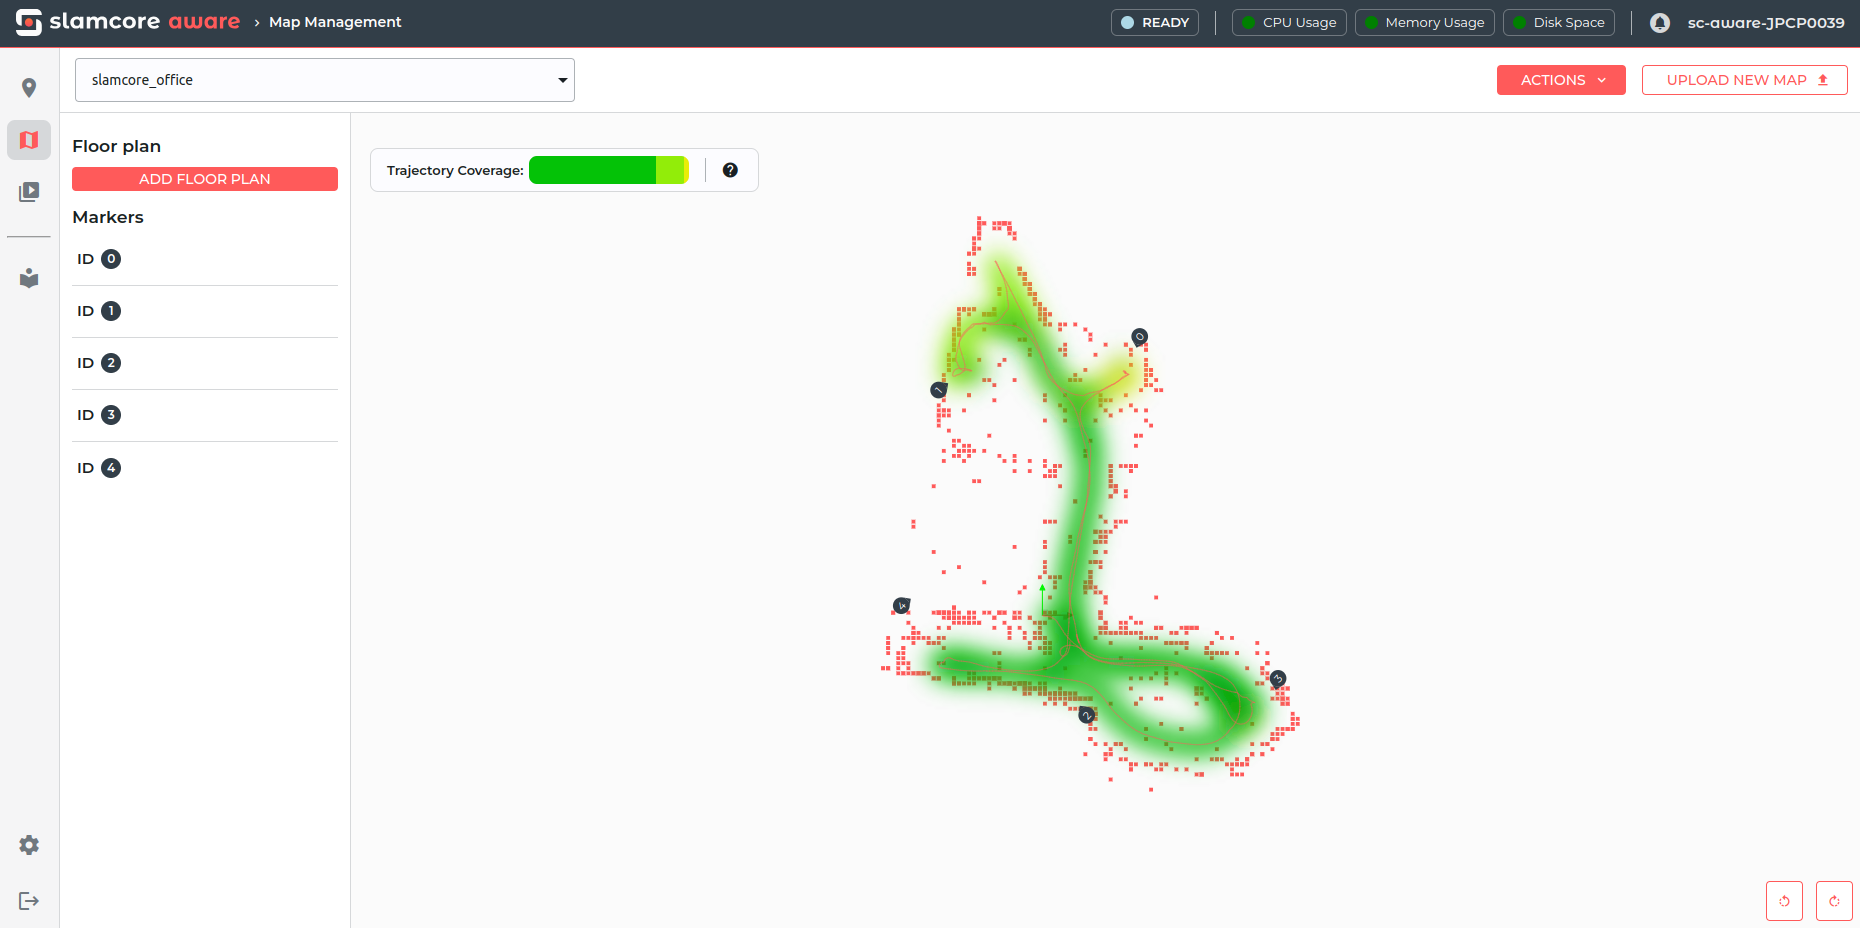
icons and place them on the floor plan to define the segment.
 (insufficiently mapped) or
 (sufficiently mapped) circles. The mapped
markers are also listed on the side panel.
(sufficiently mapped) circles. The mapped
markers are also listed on the side panel.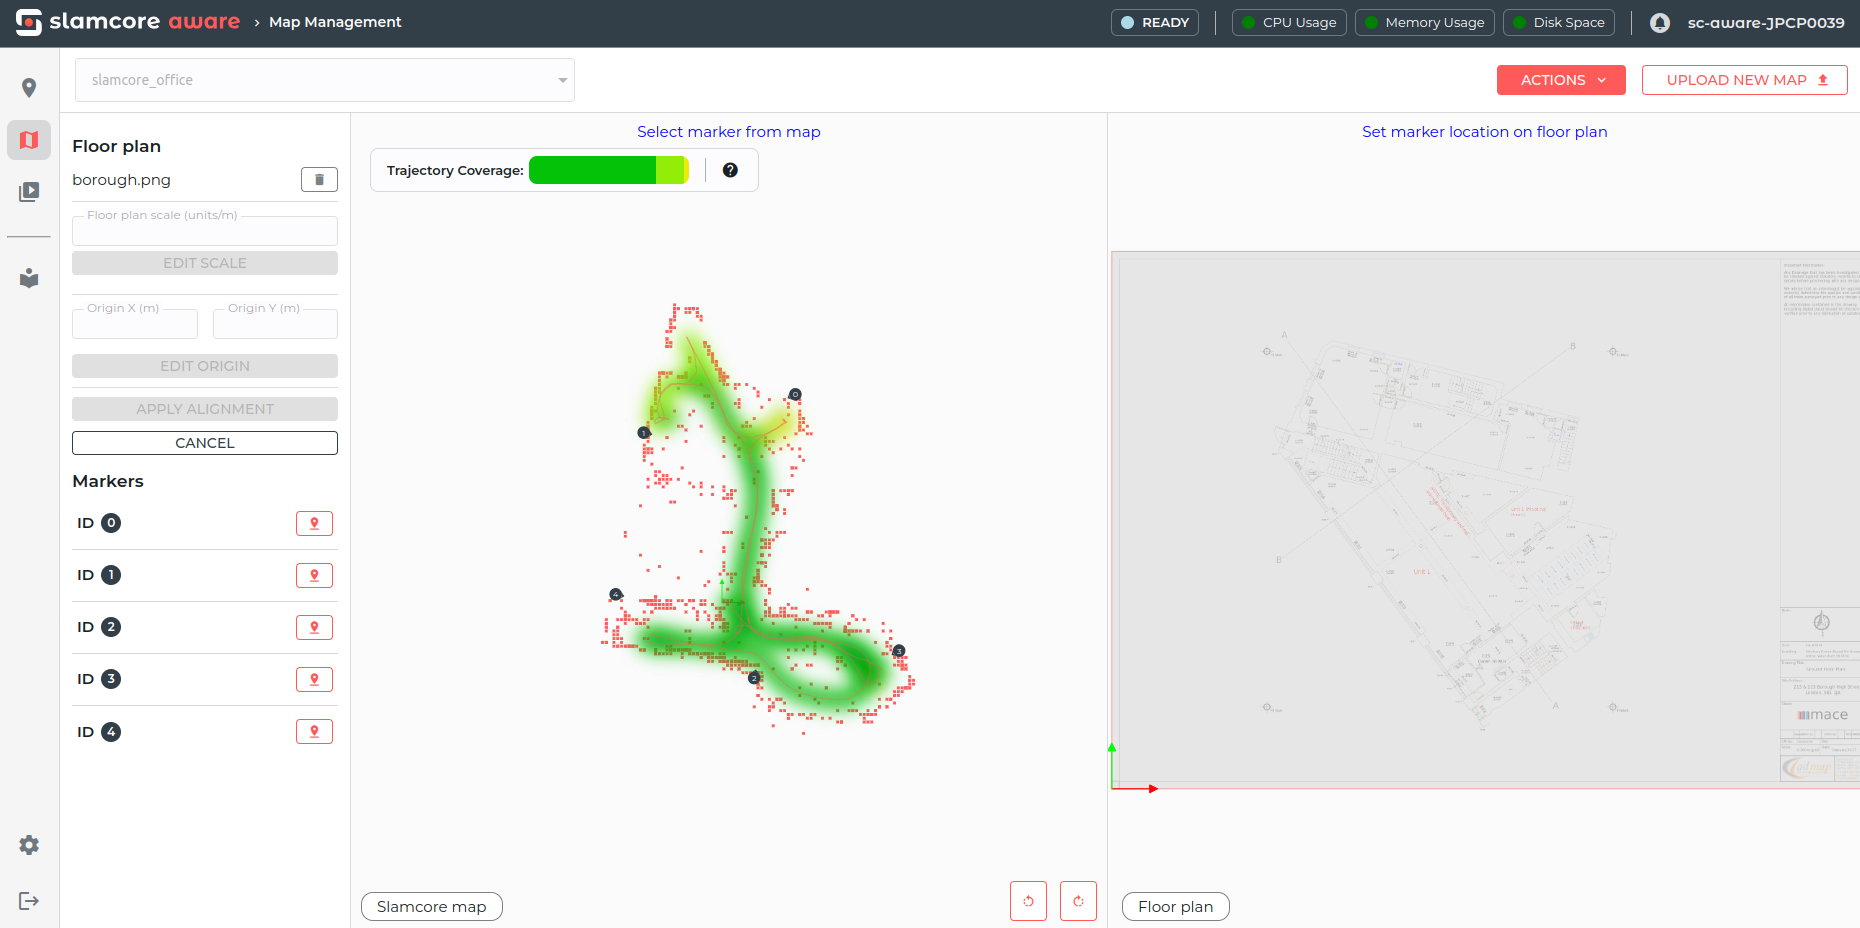
 icon will be shown next to the
marker ID that has been positioned.
icon will be shown next to the
marker ID that has been positioned.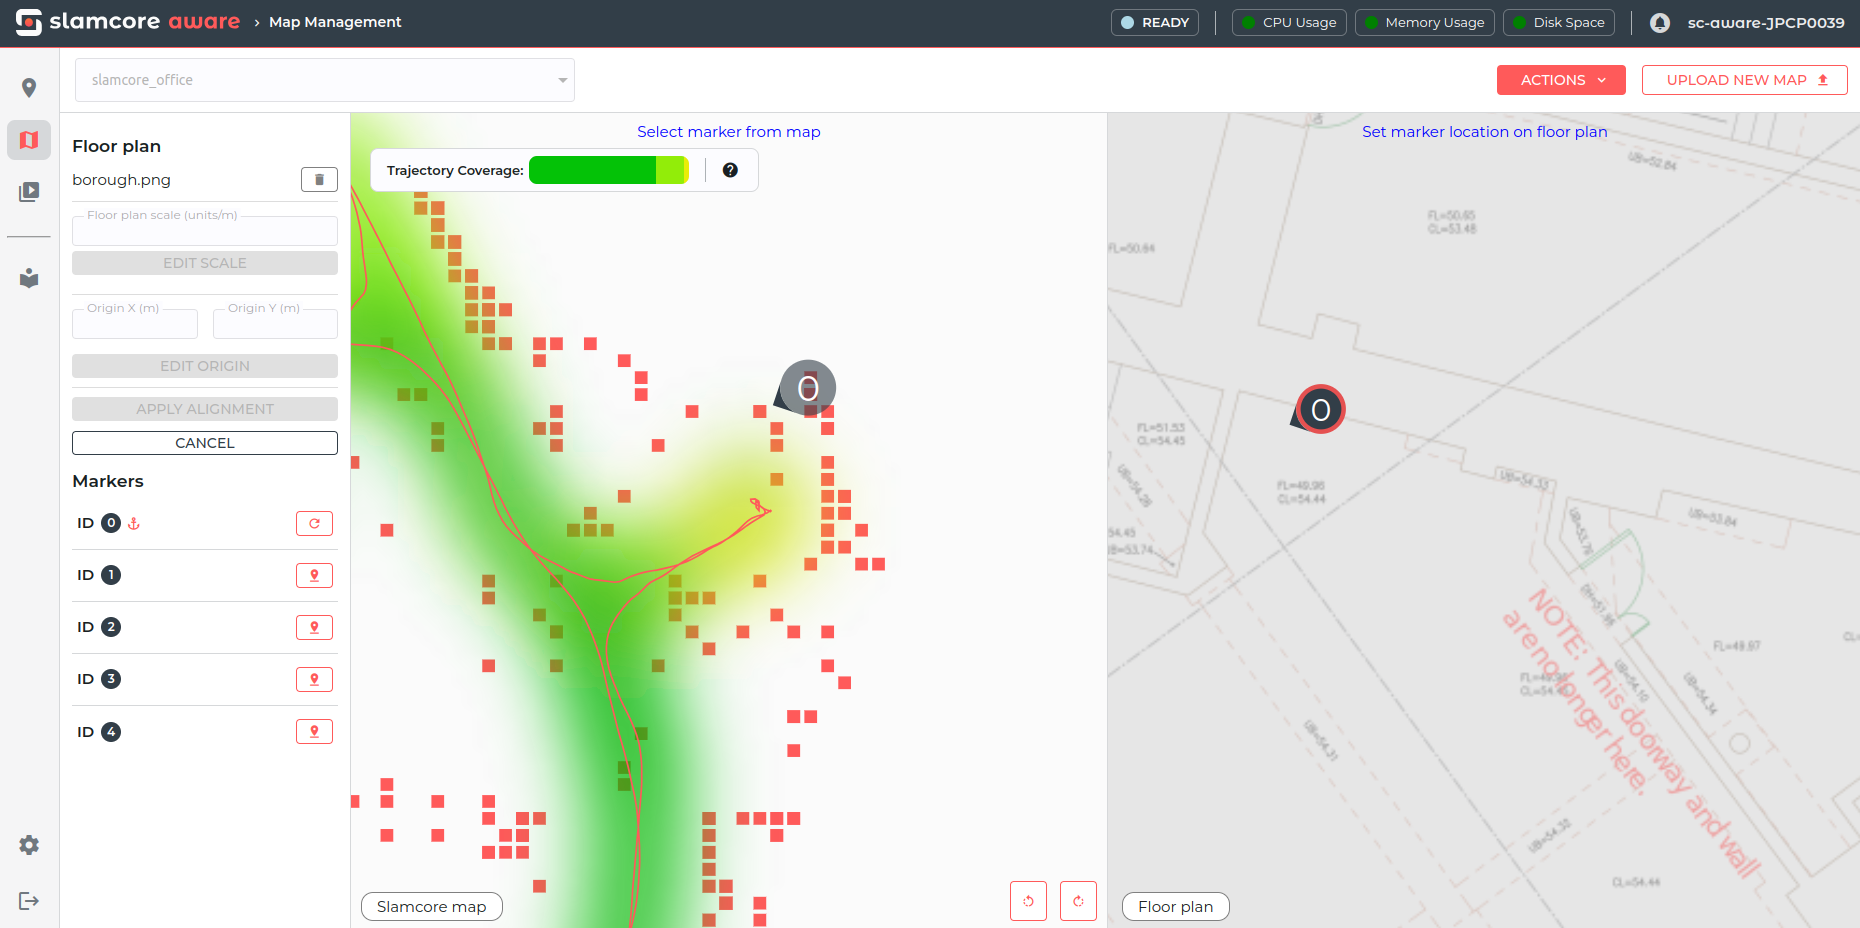
 next to the marker.